Mini Fringe Garland DIY
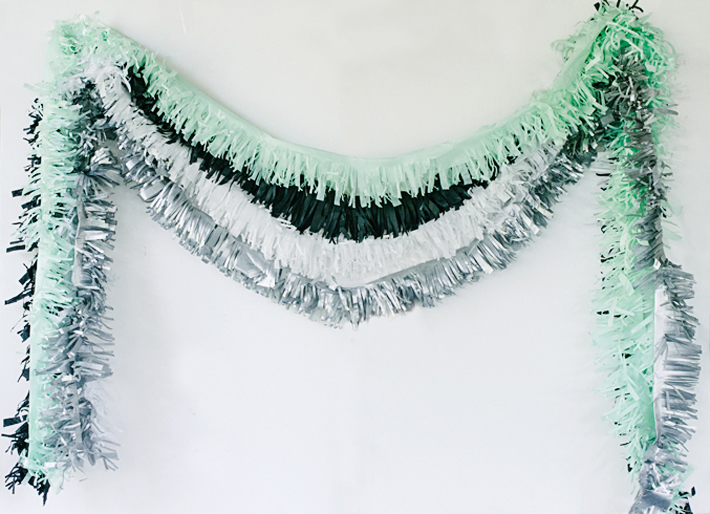
Is it odd to lust after scissors? If you've ever used the Martha Stewart Fringe Scissors you might think me slightly less crazy. We've been throwing a lot of parties and showers lately, which means a lot of garland. This means tired hands from cutting said garland. After staring at the fringe scissors in the Michael's aisle one too many times, I took my Michael's 40% off coupon (thanks Mom) and finally splurged. And, after using them I can say: worth it. I used the scissors on one of the garlands I came up with for a recent party. I'm not going to say that it's revolutionary as it is another fringe garland. There are plenty of those around the interwebs. But, it is revolutionary in that it was so much quicker to make. And, it's mini. Therefore, I deemed it must be shared. Also, if you have herb scissors they may also do the trick here without having to purchase another item. Or, regular scissors. You may want to pop in a movie for that one. A lot of fringe garlands I have seen call for rolls of crepe paper. I'm not fancy and didn't have any. I'm also not prepared and didn't have time to order any. Instead, I used tissue paper. It caused a few extra steps as far as piecing sections together. But, it's pretty easy if you already have tissue paper on hand.
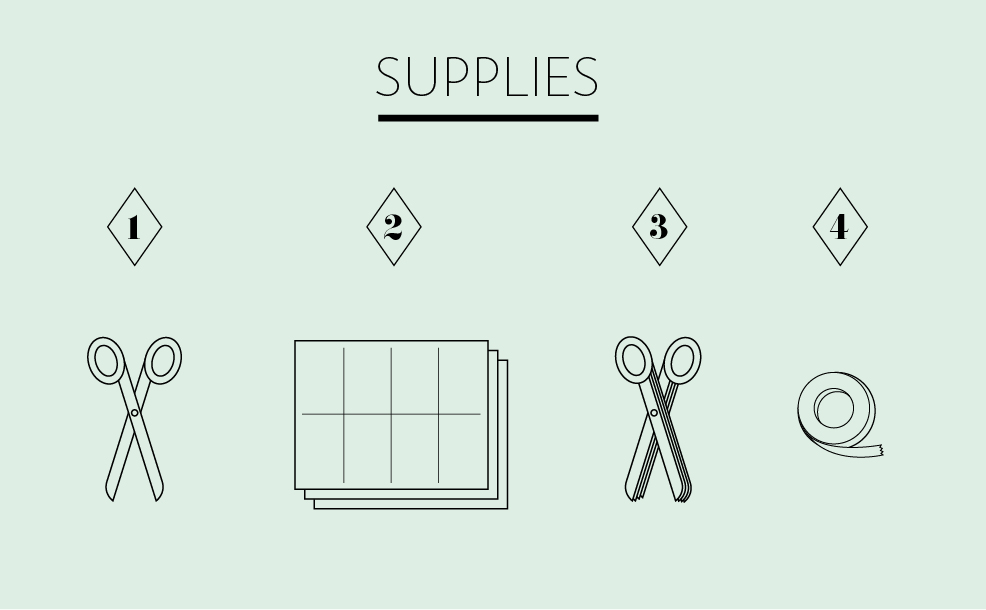
SUPPLIES
1. Regular scissors 2. Tissue paper 3. Fringe scissors, or possibly herb scissors 4. Double-sided tape
INSTRUCTIONS
1. Flatten tissue paper and fold lengthwise to crease.* Cut in half along crease. 2. Take the two new pieces and fold each lengthwise again to crease. Cut each in half along crease. 3. Stack the four long, skinny tissue paper pieces on top of each other. 4. Fold the stack over lengthwise. 4. Take the fringe scissors and cut fringe about two inches into tissue paper. Repeat across until section is fully fringed. 5. Repeat steps 1-4 until desired garland length is achieved. 6. Take each of the fringe sections and piece together by overlapping the fringe sections by about 1-2 inches. Stick double-sided tape on a few of the pieces to get them to adhere to each other. Repeat until all fringe sections make up one long piece of garland. 7. Hang and enjoy your fringe masterpiece.
*Once you get good at this, stack the flattened tissue paper in piles before cutting, and it'll go even quicker.


